Setup
Install required tools for Kubernetes development.
MacOS
Install Kube Control CLI to manage Kubernetes resources.
brew install kubectl
Install k9s to easily watch for Kubernetes resources.
brew install derailed/k9s/k9s
Install minikube to create Kubernetes clusters.
brew install minikube
For the purposes of following these notes, a Docker container runtime is used to run Minikube on it. To achieve this you may need to install Docker Desktop or OrbStack.
Install kubectx to easily switch between Kubernetes contexts.
brew install kubectx
Linux
@TODO
Cluster
A cluster is a set of nodes that run containerized applications managed by Kubernetes. It provides the necessary infrastructure to deploy, manage, and scale applications in a containerized environment.
Create a Kubernetes Cluster
Create a Kubernetes Cluster using minikube.
minikube start
The provided cluster will use around 2 GB RAM of memory and 2 CPUs you can see this in the output from the
minikube startcommand.Creating docker container (CPUs=2, Memory=2200MB)
Create a Kubernetes Cluster with Resources
The start command support different options for Cluster creation.
minikube start --cpus=4 \
    --memory=4400 \
    --kubernetes-version=v1.30.0
Kubernetes Node Status Check
Check on the active cluster using kubectl CLI with the get node subcommands.
kubectl get node
Cluster Info Retrieval
Furter commands will run against the active Kubernetes namespace.
kubectl cluster-info
Kubernetes control plane is running at https://127.0.0.1:32769
CoreDNS is running at https://127.0.0.1:32769/api/v1/namespaces/kube-system/services/kube-dns:dns/proxy

To further debug and diagnose cluster problems, use 'kubectl cluster-info dump'.
Switch Kubernetes Context
A Kubernetes context is a configuration that defines the cluster,
user and namespace that kubectl will use when executing commands.
kubectx minikube
Inspect Kubernetes Resources
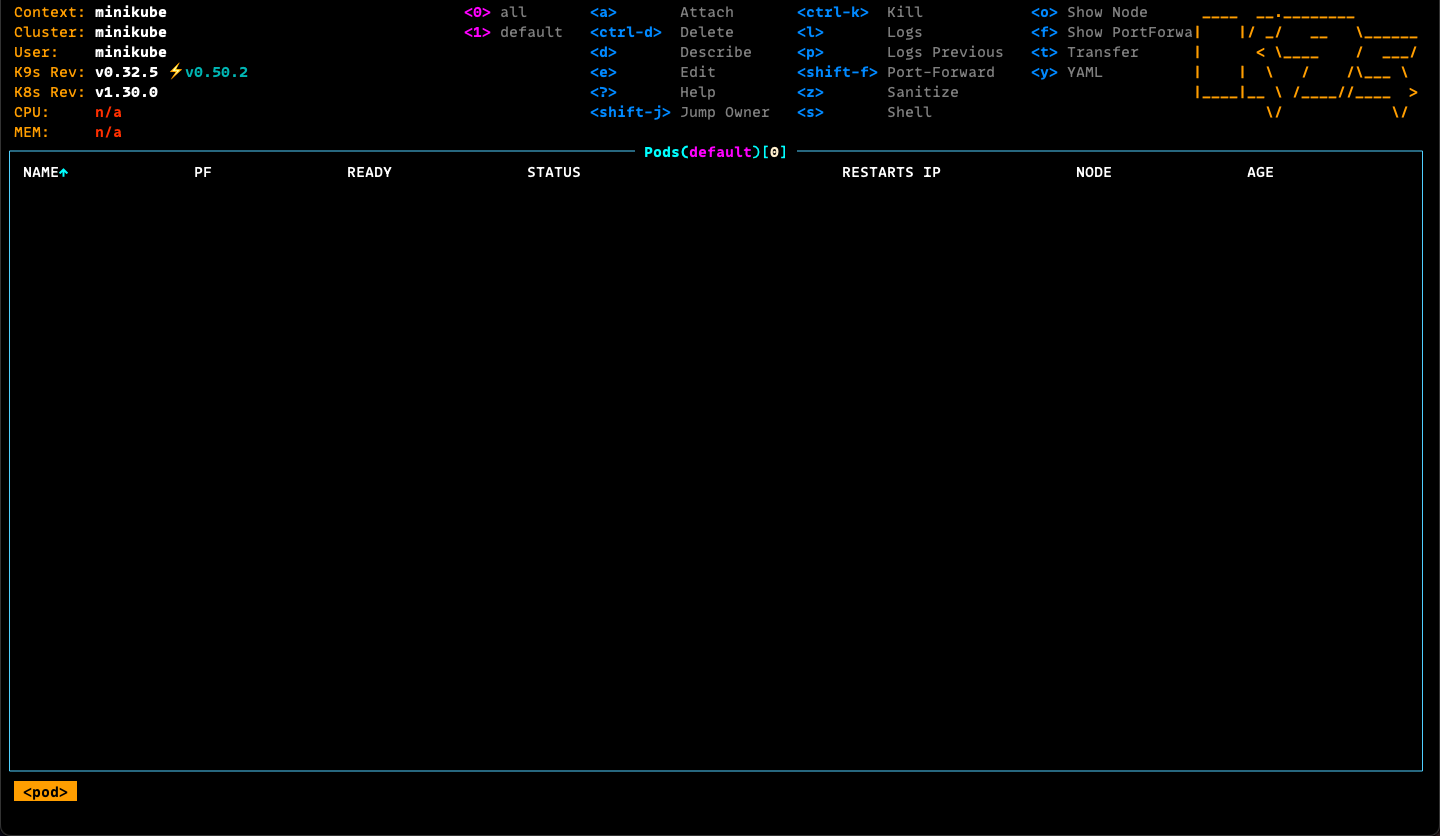
You can use k9s to inspect into active Cluster resources.
Reuse Minikube's Docker
Reuse the Docker daemon from Minikube using:
eval $(minikube docker-env)
Pods
A Kubernets pod is the smallest and simplest deployable unit.
A pod represents a single instance of a running process in your cluster and can contain one or more containers that share the same network namespace and storage resources.
Run Docker's "Hello World" on Kubernetes
Docker images can run in Kubernetes as pods, the following command runs
the hello-world image from Docker's Hub in Kubernetes.
This image runs its process which outputs text to the stdout and then
exits with success code.
The --restart parameter specifies that after exiting the program should
not rerun.
The --image parameter specifies the name of the image to pull.
The -it paremeter sets two options:
i: Interactive, allows to interact withstdin.t: Thettyoption allocates a pseudo-terminal for interactive sessions.
With -it we can see the output in the terminal.
kubectl run hello-world \
    --restart=Never \
    --image=hello-world \
    -it
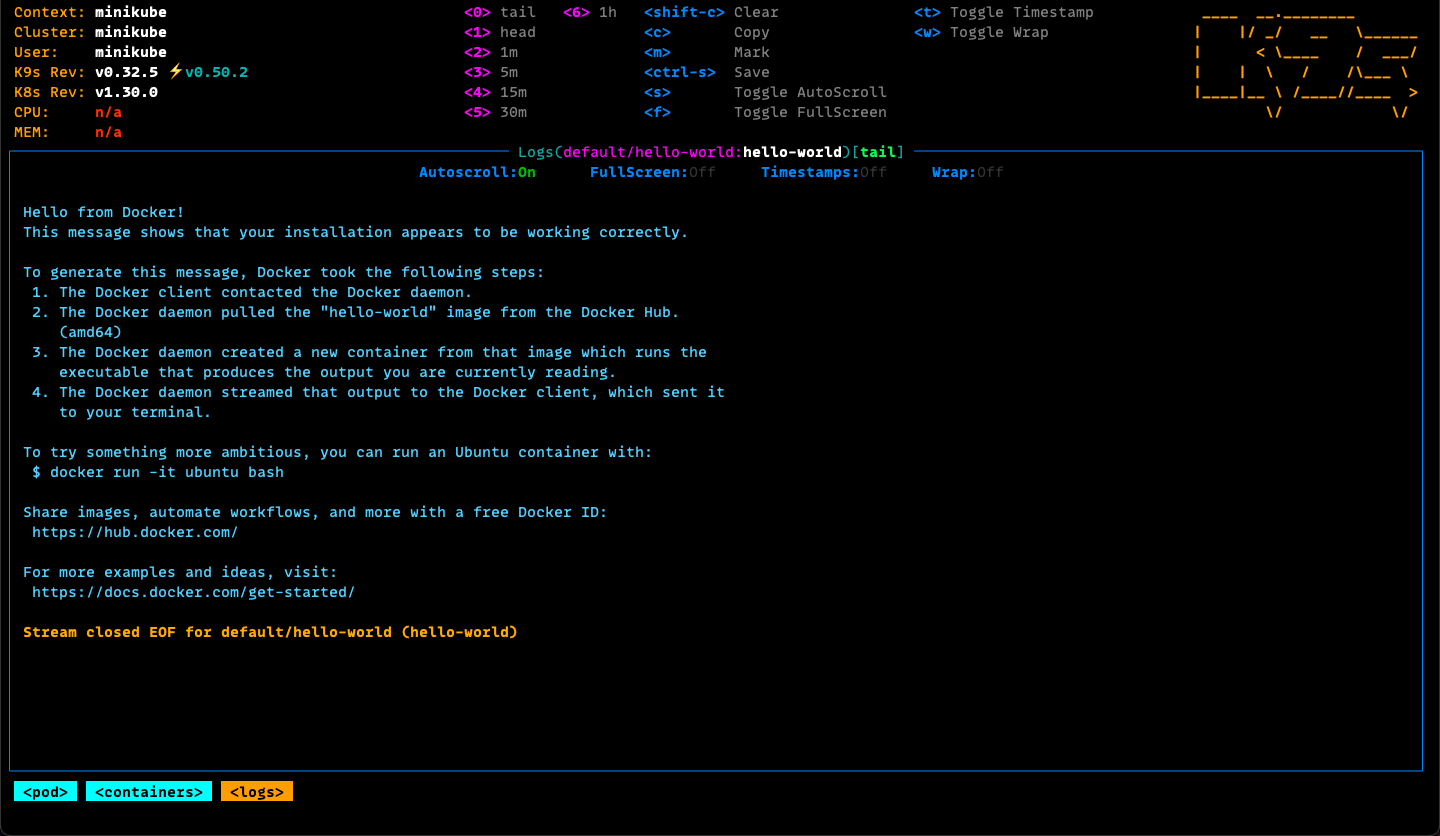
Process Logs
In regular use cases, the -it option is not likely to be used, instead
output is kept in the runtime context for the pod.
The logs subcommand can be used to check on hello-world pod logs.
kubectl logs hello-world
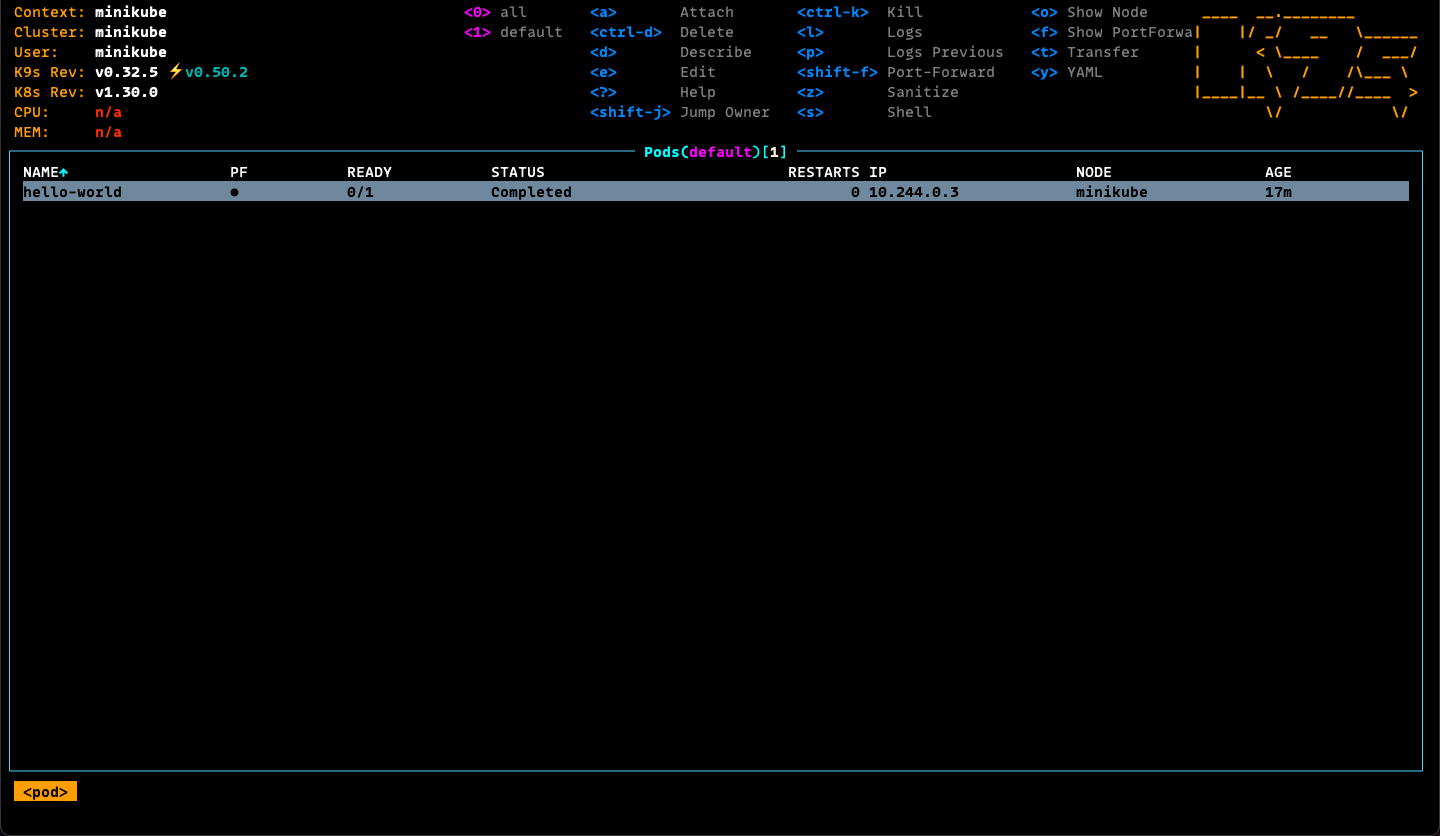
List Pods
kubectl get pod
The command will list every cluster pods.
NAME                    READY   STATUS      RESTARTS      AGE
hello-world
Inspect on Pod Details
Retrieve more details on a pod using the describe pod subcommand.
kubectl describe pod hello-world
Delete Pod
Once a pod is no longer needed, it can be deleted with pod delete subcommand.
kubectl delete pod hello-world
Inspect on Pod's using k9s
k9s will list Pods available in the Cluster.
Logs for the pod can be seen using the k9s interface.
Local Images
Running local Docker images in Minikube requires loading them into Minikube's Docker.
Read more on "Pushing directly to the in-cluster Docker Daemon".
Reuse the Docker daemon from Minikube
Use the docker-env output to setup the Docker environment from Minikube
as primary Docker.
eval $(minikube docker-env)
Load an Image into Minikube
You must build the image before, run:
docker build -t local/bun-hello-world .
To make an image available for Minikube, the image must be loaded first.
minikube image load local/bun-hello-world
Create a Pod with Local Image
Create a Pod with the image on Kubernetes could be done by creating
the following pod.yaml, then applying it with kubectl apply -f pod.yaml.
apiVersion: v1
kind: Pod
metadata:
  name: bun-hello-world
  labels:
    app: bun-hello-world
    tier: backend
spec:
  containers:
    - name: bun-hello-world
      image: local/bun-hello-world
      imagePullPolicy: Never
The
imagePullPolicyis used to restrict Kubernetes from pulling the image from the registry and to instead use the local image.
Check the Pod is running:
kubectl get podNAME READY STATUS RESTARTS AGE bun-hello-world 1/1 Running 0 19s
Port-Forward Pod
To access the Pod, you must run the kubectl port-forward command.
kubectl port-forward bun-hello-world 3030:3030
Local Registry
Enable the registry addon
Enable Minikube's registry:
minikube addons enable registry
Use socat to redirect to Minikube's Registry
Then setup Docker to push images to this registry, redirect port 5000 on the
docker virtual machine over to port 5000 on the minikube machine.
Use Docker’s network configuration to instantiate a container on the docker’s host, and run socat there:
docker run \
    --rm \
    -it \
    --network=host \
    alpine ash -c "apk add socat && socat TCP-LISTEN:5000,reuseaddr,fork TCP:$(minikube ip):5000"
Given the -it parameter the process will attach to the terminal process.
Push Image to Local registry
With socat running, we can push local images to the Minikube's registry.
docker tag username/image localhost:5000/myimage
docker push localhost:5000/myimage
For instance, in the examples/server bun project, the image can be build and
pushed to this local repository.
# Build the Docker image in the current directory
docker build --pull -t local/bun-hello-world .

# Tag the Docker image
docker tag local/bun-hello-world localhost:5000/bun-hello-world

# Push the Docker image to the local registry
docker push localhost:5000/bun-hello-world